Hello quilt-alongers! I hope you have been enjoying making this quilt so far. I am extra excited about this month, because it’s the first month we get a large section of the quilt done! I love the magic of sewing the strips together and watching them transform into a fair isle chain.

Last month, we completed the first half of Section 3, which was sewing the long strip sets together. Now it is time to sub-cut those strips into columns and re-arrange them to create our design. I’ll show you how I cut the strips and how I pin the strips together to help match up the seams.
Before we start cutting our strips, we’ll need to start by squaring up and evening out the edge. If your strip sets look like mine, they are definitely uneven and in need of a good trim! Start as close to the selvedge as you can without including it in your cut. Then use your ruler on the strips to get everything lined up. On the top small strip, line up your ruler on an inch mark (mine is on the 7 inch line). You’ll see on mine that the top pink strip is 2 inches exactly and the ruler lines up perfectly along that. The second pink strip doesn’t fall directly on an inch marker, but you can see that everything is lined up there as well. It’s not always going to be perfect, but do your best to your first cut as even as you can.

Now that you’ve evened out your cutting edge, we can start our strip cuts! We’ll be cutting 2 1/2 inch strips out of all them. The number of strips you need for each column is listed in the pattern. Below you can see my strip set ready to be cut into columns. I have the ruler on the 2 1/2 inch line and everything looks lined up.

Cut your strips, lining everything up as you go. For the WOF strip sets, I notice that I tend to start getting a little uneven somewhere in the middle. So I’ll do a second squaring up before I continue. There is a small amount of extra fabric on those strip sets to give you room to do that second squaring up. But it’s not a large amount, so cut carefully.
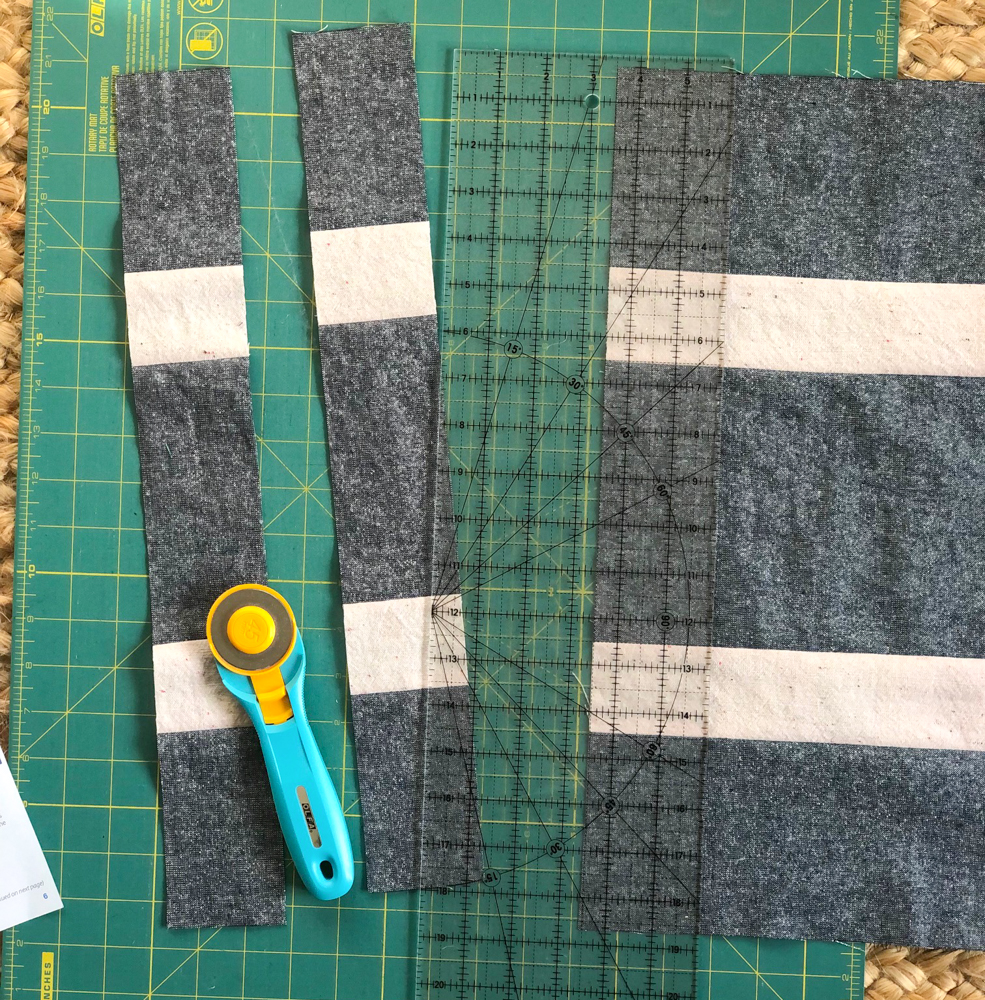
After you’ve completed cutting strips, label them for their column number. Here’s a link to printable column labels for this section.
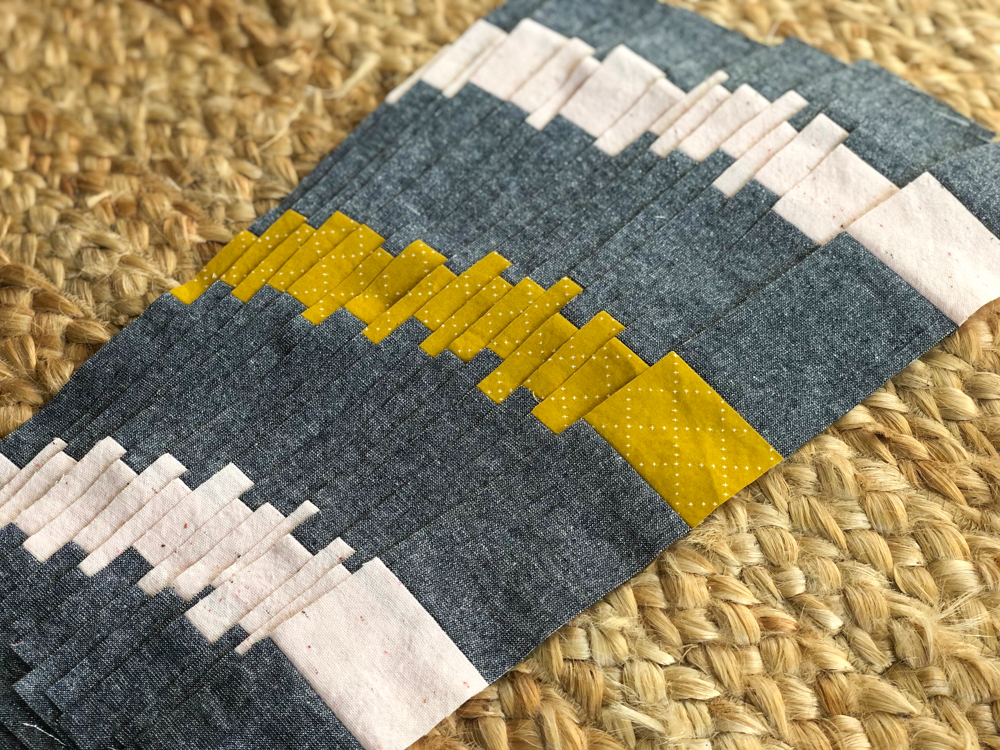
After you have all the columns cut up and labeled, it’s time to lay them out in the correct order! The pattern has a chart with an illustration of the layout and the column number underneath. I find a large space where I can keep things laid out as I sew.
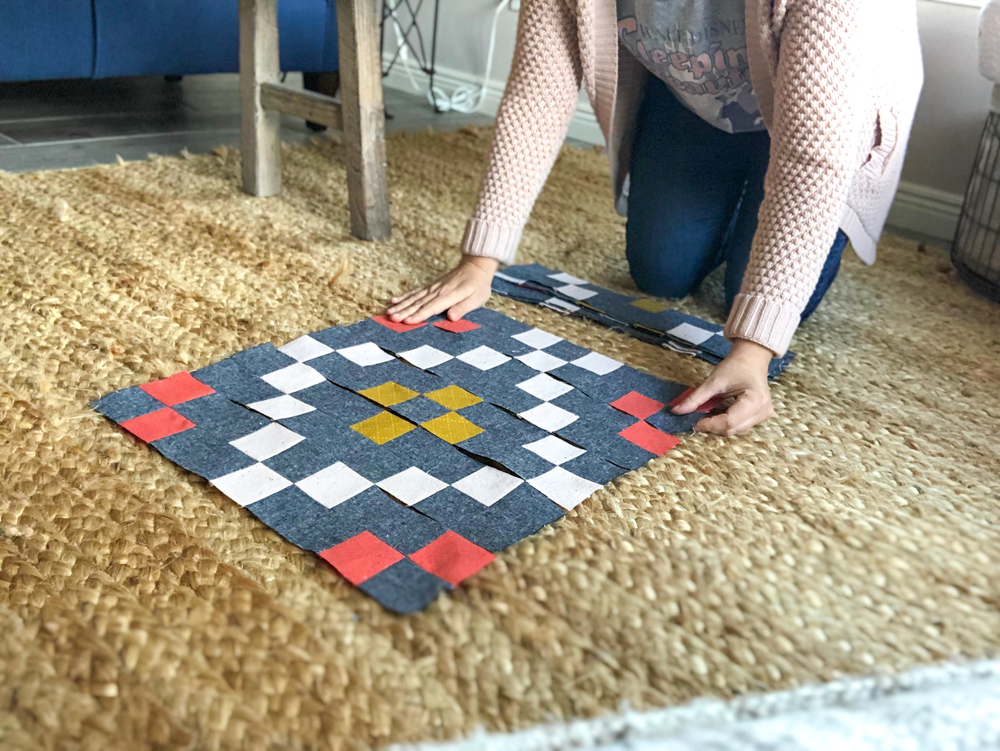
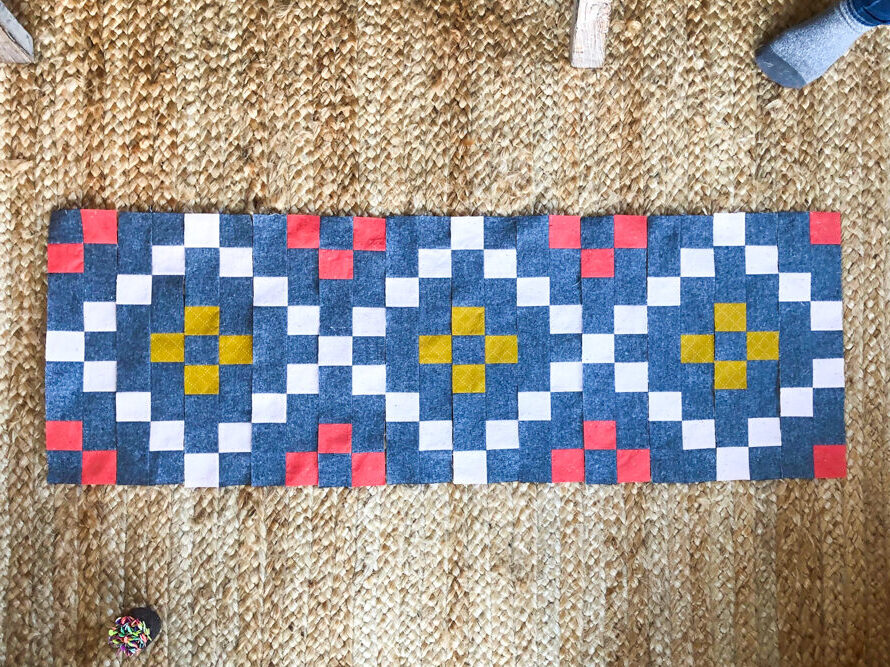
When everything is laid out, I take a few pieces over to my cutting mat to pin together.
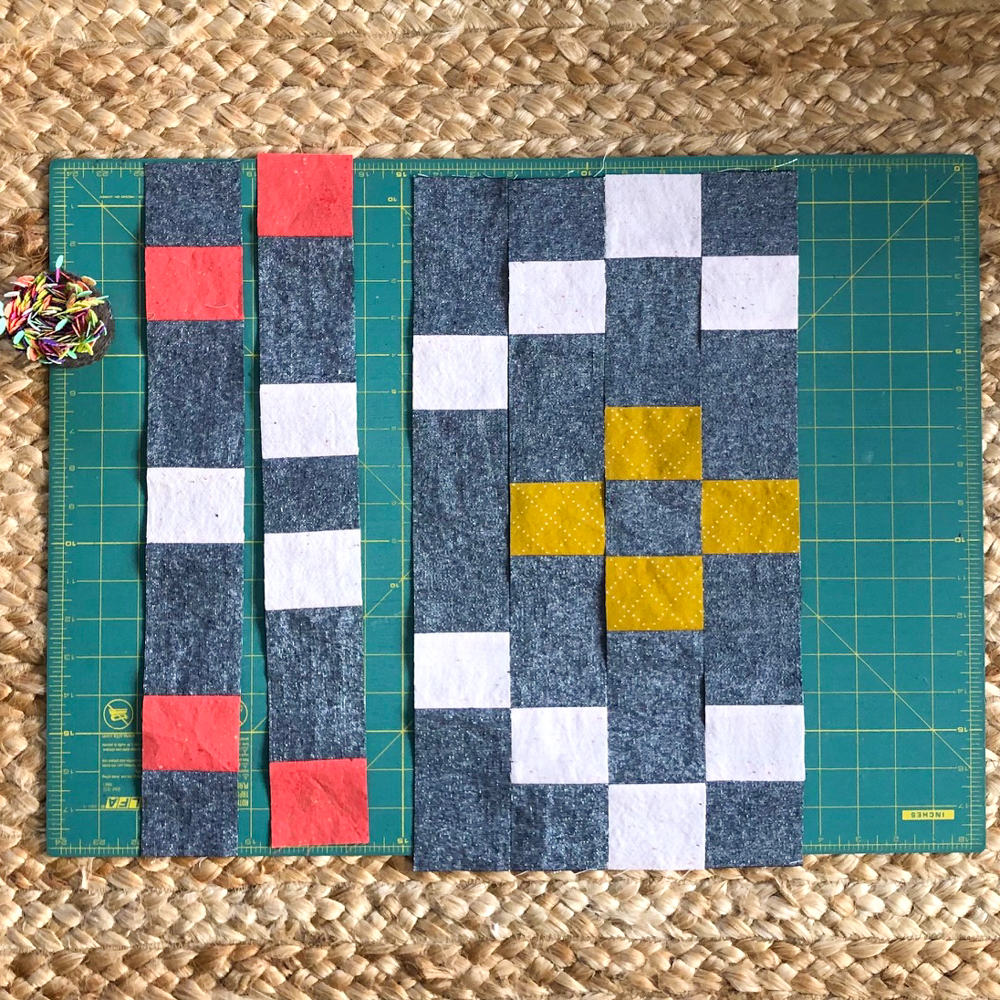
I take 2 column strips at a time and put them right sides together, paying special attention to where the seams meet. I like to pull the top strip down a bit and really line up those seams.
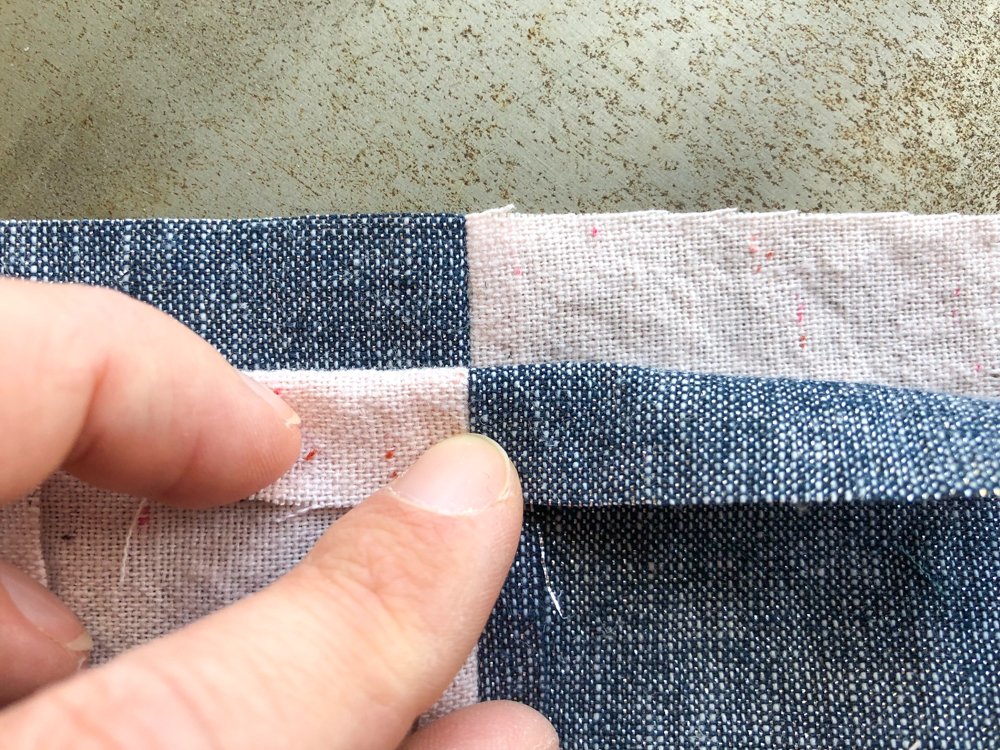
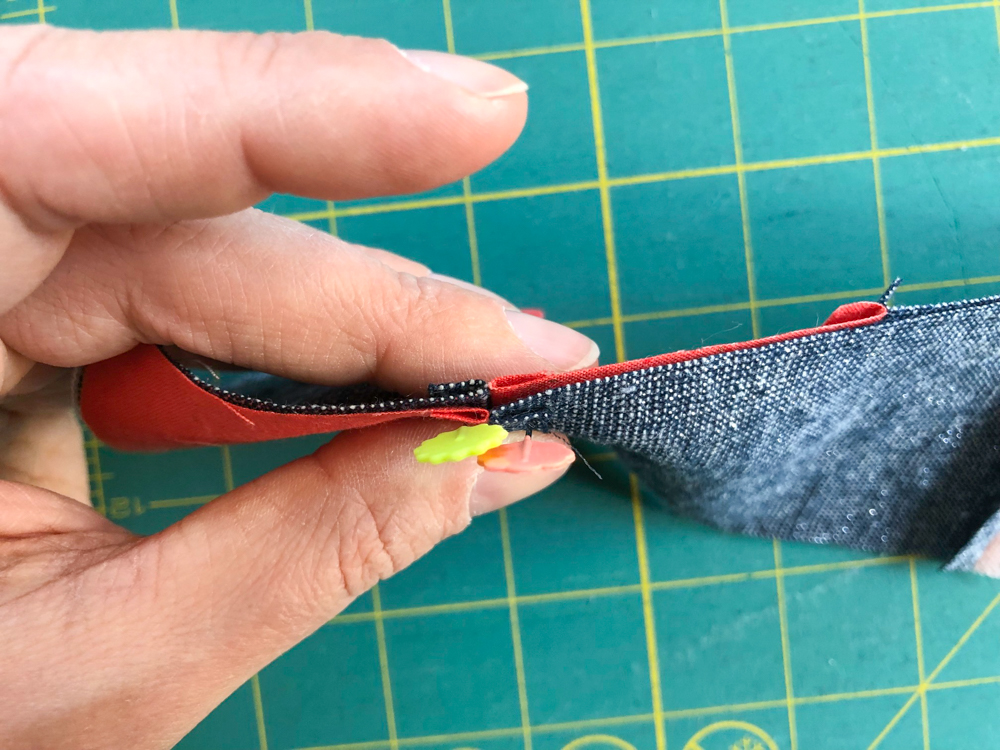
Then I carefully pin on the seam allowances on both sides of where those seams lined up.
(I realized I took pics at different times, the pink above and the red below. Don’t worry though, just pretend the pink and red the same for this example!)

Below you can see how things are still lined up with my pins in place.
Typically, I don’t love to pin, but for this section, I go all out on pins. I find it really is the best way to get everything to line up and be where it’s supposed to be. The image below is how many pins I use for every column strip.
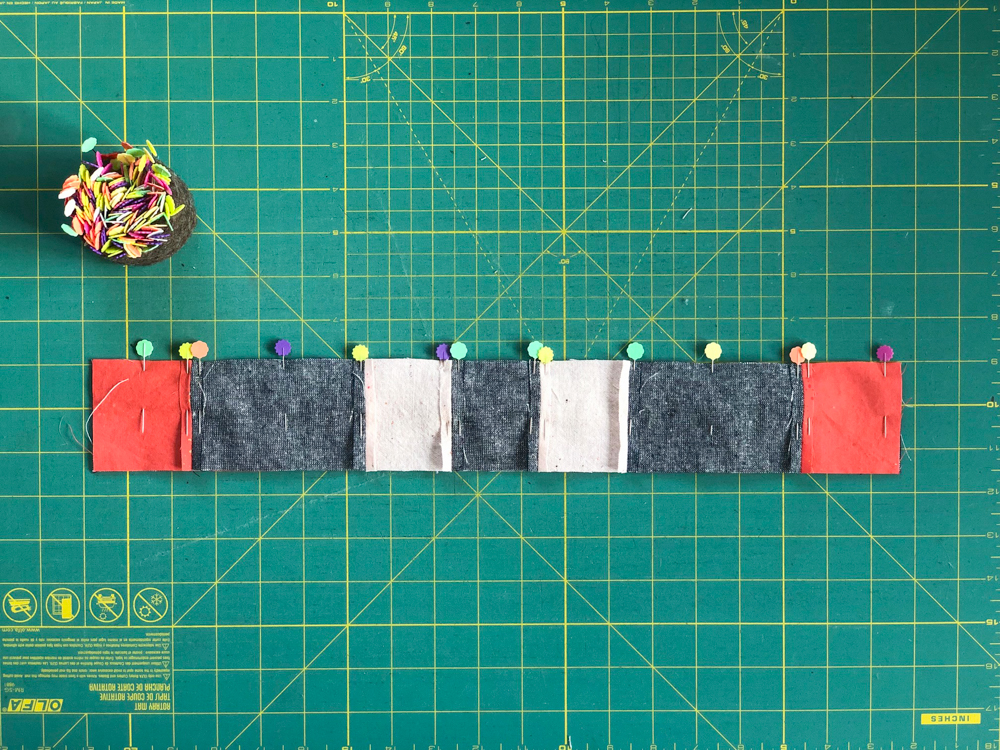
When I’m sewing the column strips together, I sew right up until that pin by the seam. I carefully pull it out and continue sewing til the next pin. I found that this keeps things from shifting as I’m sewing.

This pattern is pretty forgiving because even if you end up with things not perfectly lined up, the visual of everything makes it look like it is! If you take a look up close at my original version of Reindeer Ridge below, you can see there are many spots that don’t line up perfectly (especially where the red squares and yellow squares are). But when you’re looking at the whole thing these little errors aren’t noticeable.

When I’m pinning and sewing the columns together, I like to do it in batches. So I’ll pin and sew all the groups of 2 columns and then press. Then I’ll pin and sew those groups to each other to make larger sections of 4 columns. In the pic below, on my cutting mat, I’m pinning two large sections of 8 columns right sides together. I keep pinning and sewing larger sections until the fair isle chain is complete.

Although I could only hold one for the picture, you will make 2 of these fair isle chains 🙂
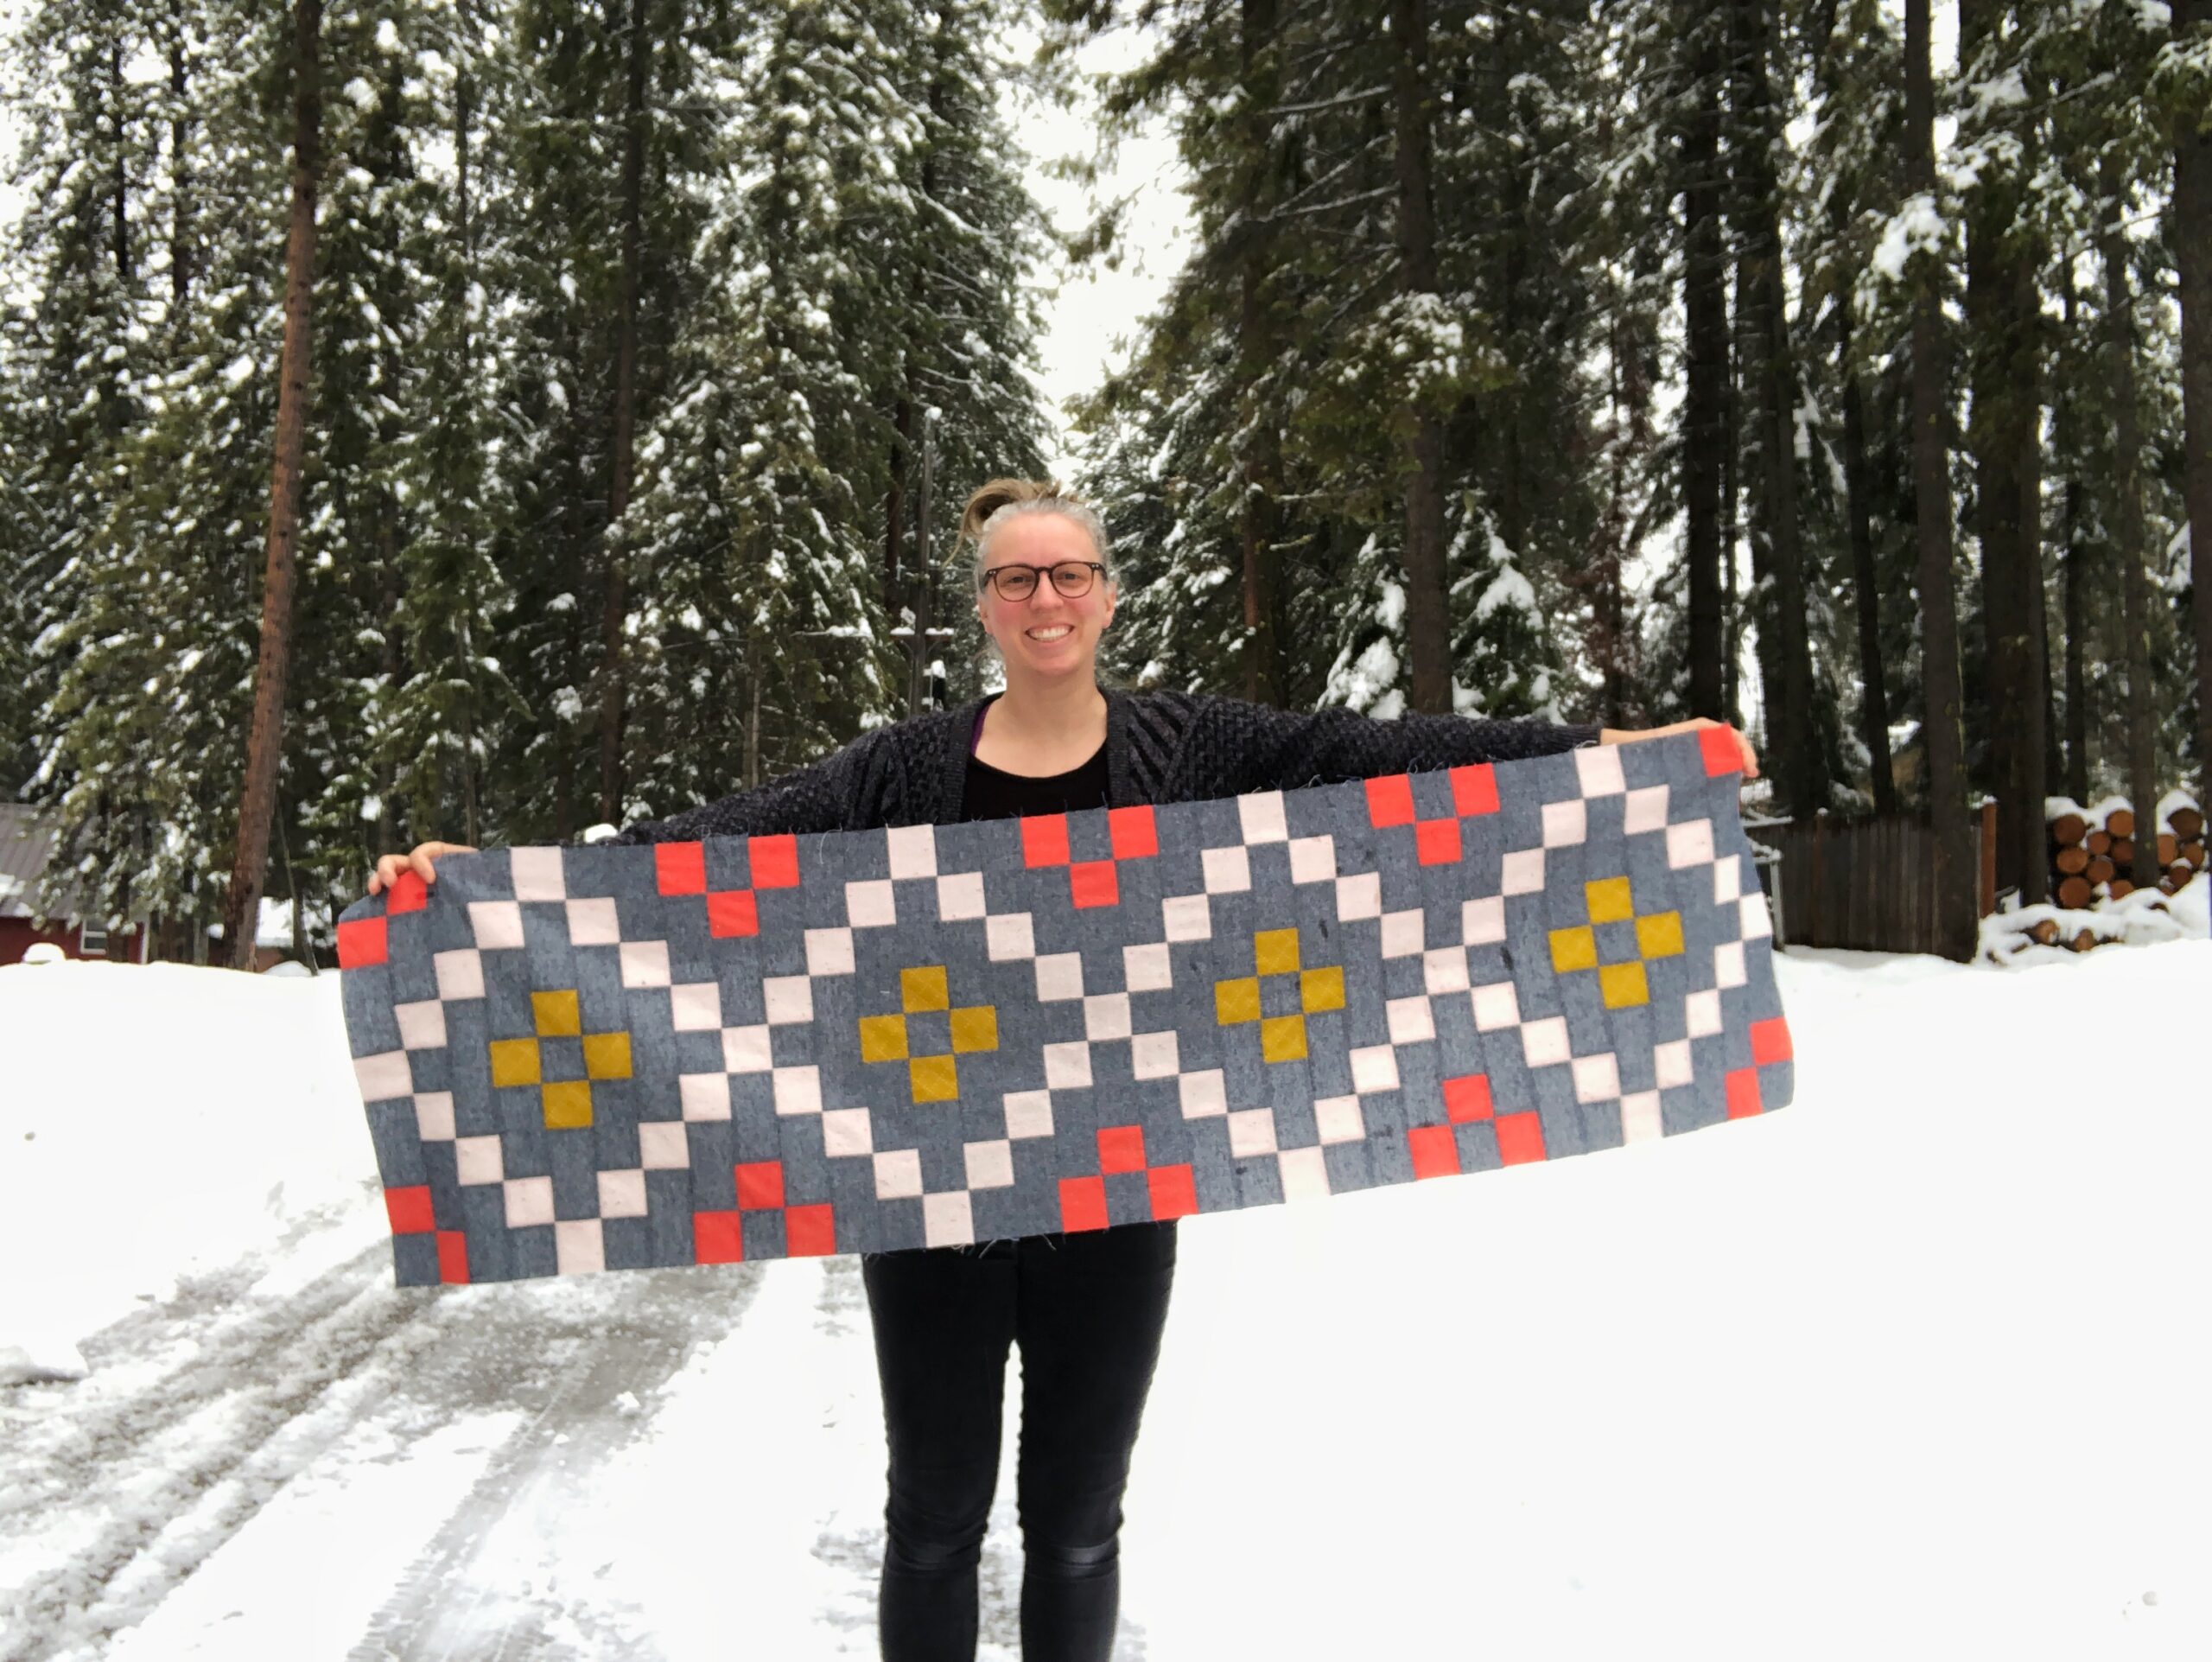
I’m so excited to see how your fair isle chain sections come together! Use #ReindeerRidgeQAL on Instagram to share your progress. I will do another giveaway drawing next month, so get sewing! 🙂 🙂 🙂
Previous Posts
If you’re just joining me on this quilt-along adventure, be sure to go back and check out Month 2, Month 1, and the Quilt Along Welcome post.
