Today we’re going to finish our mini series of how to sew triangles by sewing rows of triangles together. If you missed Part 1 about how to cut and piece triangles, click here.
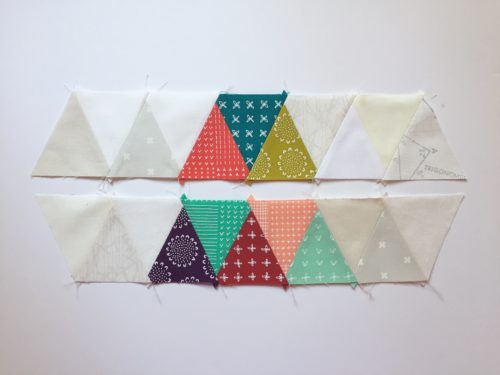
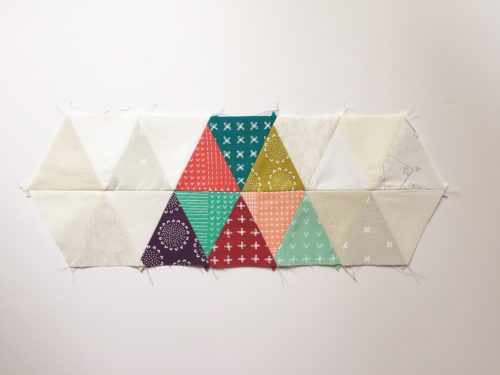
Here are my rows of triangles, ready to be sewn together. In this example, I’ll refer to the row at the top as “top” and the row beneath it as “bottom”.
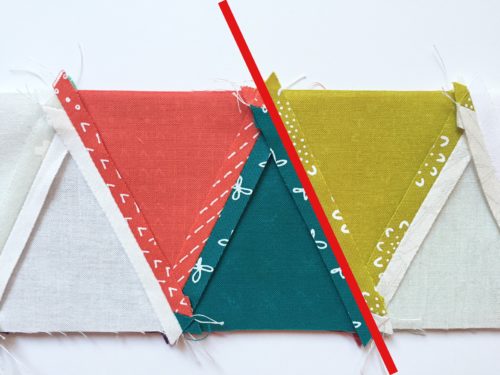
Take the top row and place it right sides together with the bottom row.

To line them up, make sure the seams on the triangles from the top and bottom rows line up. The red line below shows which seams should be lining up.
Pin your rows together to make sure everything stays lined up. I like to put pins on either side of the triangle point and one pin in the center of the triangle.
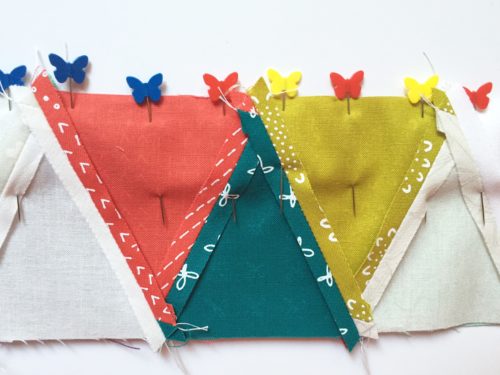
Continue pinning the entire row.
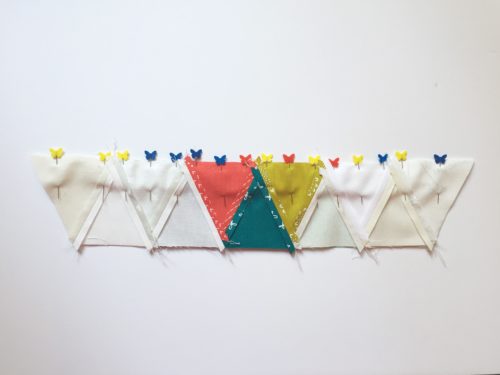
Sew 1/4″ inch from the edge, removing the pins as you approach. Some people even leave their pins in, but I’ve broken too many pins and needles with mine doing that.
Press open your seam. Yay! Two rows of happy triangles.
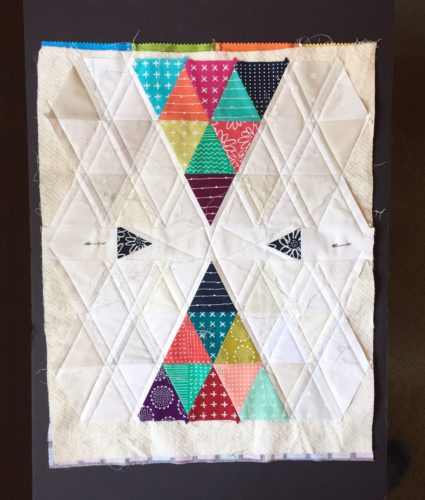
Here’s a little sneak peek of the progress of this project. It will be heading for it’s new home in a couple weeks.
[…] To walk through how to sew rows of triangles together, click here for Part 2. […]